MODULAR DEBURRING TOOL COMPONENTS

The Assembly Holder
While this core component of our modular design entails many features, it is surprisingly inexpensive. And since it remains in your machine tool holder during component changes, axial presetting is done just once. So set it and forget it! Both, the pilot stop, and blade mounting pins assure precise locations of our modular components. A conveniently located Pilot Clamp Screw makes in-machine pilot changes both quick and simple. Our Adjustment Screw not only adjusts the blade elevation, but facilitates blade insertion and removal as well. And just to make it easier, 1/2 revolution of this screw is all it takes to go from full blade extension to blade removal position. Of course this is done in machine as well.
Another first for Michigan is the Retention Screw. This nylon-tipped screw retains the position of the blade by applying passive radial pressure against the Adjustment Screw. This pressure prevents “self adjustment” due to vibrations.

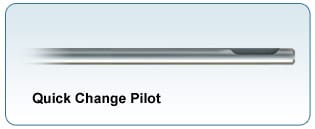
The Modular Pilot
The simple design of our Modular Pilots not only makes them less expensive, but more durable as well. Small hole pilots (ranges A,B & C) are manufactured from M-2 drill blanks, while the larger pilots (ranges D & above) are made from high quality, H-13 tool steel. Why replace the entire tool when you can replace a single component for a fraction of the cost.

The Modular Blade
Our adjustable Modular Blade incorporates an integrated spring. This serves to maintain the position of the cutting head relative to the pilot upon adjustment. Another benefit of this blade is the limiting feature, which serves a dual purpose. First, it prevents the blade from being adjusted beyond its working range (which could result in damage or breakage) and secondly, it assists in presetting the blade elevation. To use this feature, once a blade has been inserted, turn the Adjustment Screw in until it stops. At this point you have reached the limiting feature, and the blade is set at maximum elevation. At this setting the tool will cut aggressively. Simply back out the screw about 1/4 turn to achieve a less aggressive setting. By making a mental note of the amount of rotation, you have established a preset reference for subsequent blade changes. Now, as the cutting edge wears due to use, the blade may be adjusted to compensate.

